How to boot a dedicated server into a custom OS image using iDRAC
Your Dell server's out-of-band management platform is called iDRAC, and it allows you to mount virtual remote media to the server so you can boot from that media and install an operating system.
For your safety, iDRAC is hidden behind the VPN. For your convenience, you can temporarily enable public access to your server's iDRAC so that no VPN use is required.
You will find VPN credentials and setup instructions in the Profile → Account section of the Customer Portal.
Each server's iDRAC credentials can be found on a server's details page in the Customer Portal, where you can also enable public access. Public iDRAC access is allowed on a temporary basis. Once enabled, it will last for the next 24 hours, but you can turn it off ahead of schedule.
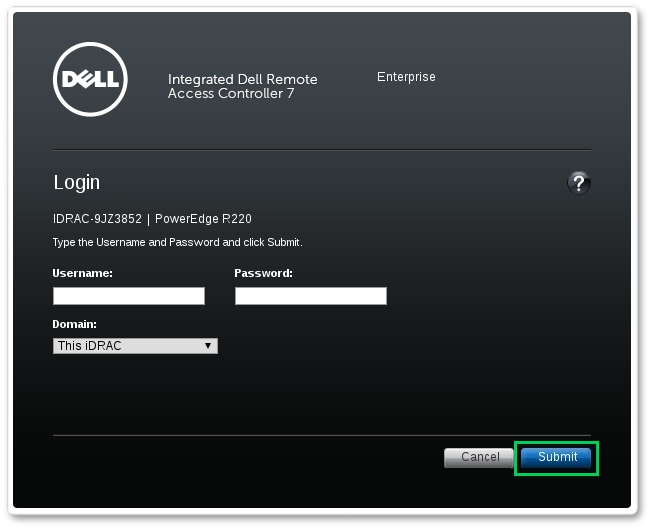
Enter the IP address of iDRAC in the address bar of your browser. The browser will warn you about your connection being not secure because of a self-signed HTTPS certificate. Add an exception and continue. Enter previously received iDRAC credentials on the iDRAC authentication page.
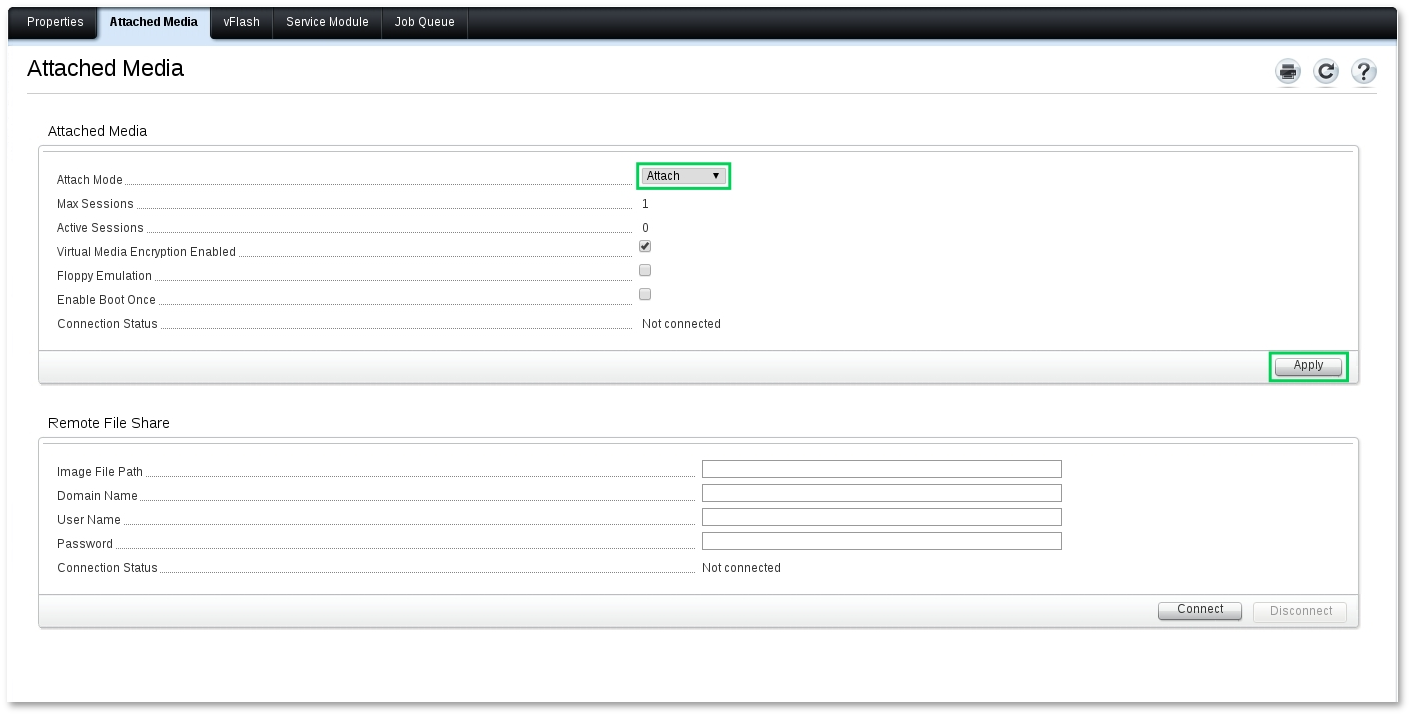
Go to Overview → Server → Attached Media. In the Attach Mode drop-down list, click Attach and then click Apply.
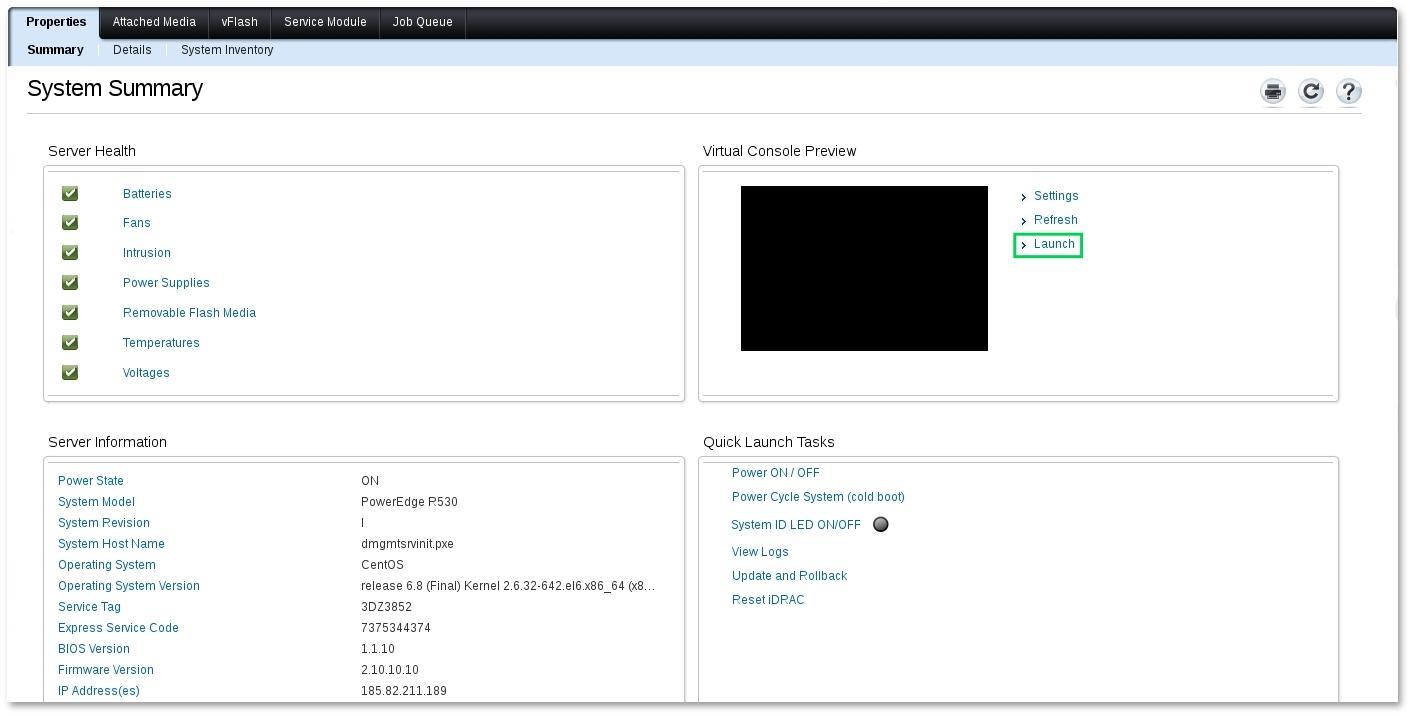
Go to Overview → Server → Properties → Summary. Here click Launch in the Virtual Console Preview section. You will be prompted to open or save the file viewer.jnlp. If you cannot run the file, make sure that you have installed Java Runtime Environment.
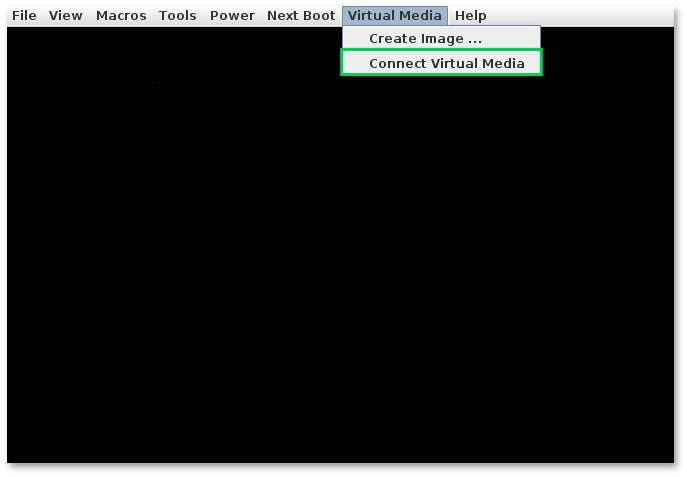
When you open viewer.jnlp in the Java environment, a connection to the virtual console of the server will be established. In the console, select Virtual Media Main Menu → Connect Virtual Media.
After connecting the Virtual Media, you can mount the .ISO image of your operating system. To do this, select Virtual media → Map CD/DVD in the console main menu. In the new window, specify the path to the image, and then click Map Device.
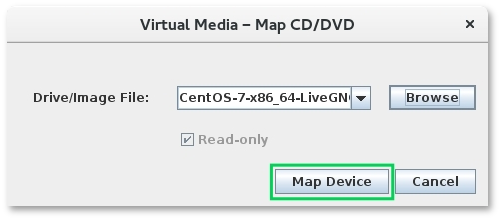
After that, the mounting is complete. To boot the server from the image, reboot the server and select Virtual CD/DVD/ISO as the boot source in BIOS.