How to restore a dedicated server using Rescue mode
In cases when OS is affected by critical system errors or the server is unable to boot properly, the Customer Portal feature called Rescue mode may come in handy.
This feature is suitable for recovery of most Linux-based operating systems.
How to use Rescue mode
Imagine that something went wrong with the OS configuration — for example, the GRUB loader configuration file is corrupted, and the server shows a black screen and is unable to boot:
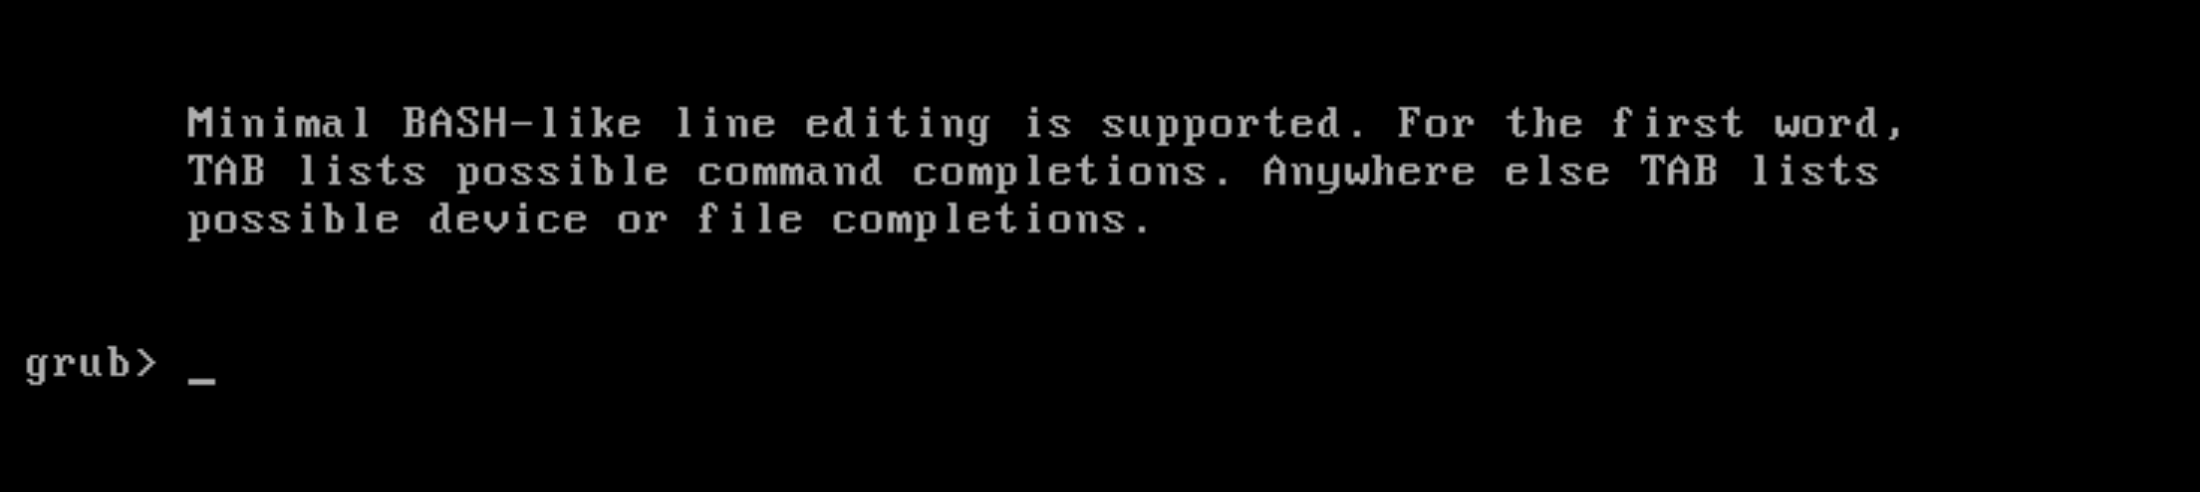
This issue might be solved in a number of ways, one of which is using Rescue mode.
Press the Reboot to rescue button in the Customer Portal and wait for an email containing temporary login credentials (this usually takes up to 10 minutes).
Use credentials to access the server via SSH:
$ ssh 123.45.67.89 -l rootThe list of available useful commands is displayed upon login.
Now try to recover the GRUB configuration file.
Get the list of available disks and partitions using the lsblk command:
[root@dmgmtsrvinit.pxe ~]# lsblkIdentify the root partition and the /boot partition, then mount them:
mkdir /mnt/root
mount /dev/mapper/C1500302784I0-rootfs /mnt/root
mount /dev/md127 /mnt/root/boot
Mount several other partitions in order to make the grub2-mkconfig command work properly:
mount -o bind /dev /mnt/root/dev
mount -o bind /sys /mnt/root/sys
mount -t proc none /mnt/root/proc
Change the root directory using the chroot command:
chroot /mnt/rootRun the grub2-mkconfig command, which will generate a new GRUB configuration file:
[root@dmgmtsrvinit.pxe /]# grub2-mkconfig -o /boot/grub2/grub.cfg
Generating grub configuration file ...
done
Exit the chroot and shut down the server in a proper way:
[root@dmgmtsrvinit.pxe /]# exit
[root@dmgmtsrvinit.pxe ~]# shutdown -h now
Exiting Rescue mode
As soon as recovery work has been finished, press the Exit rescue mode button in the Customer Portal. The server will exit Rescue mode and boot normally into the OS installed on its disks.