How to install Web UI Dashboard
Dashboard is a web-based Kubernetes user interface. You can use Dashboard to deploy containerized applications to a Kubernetes cluster, troubleshoot your containerized applications, and manage the cluster resources.
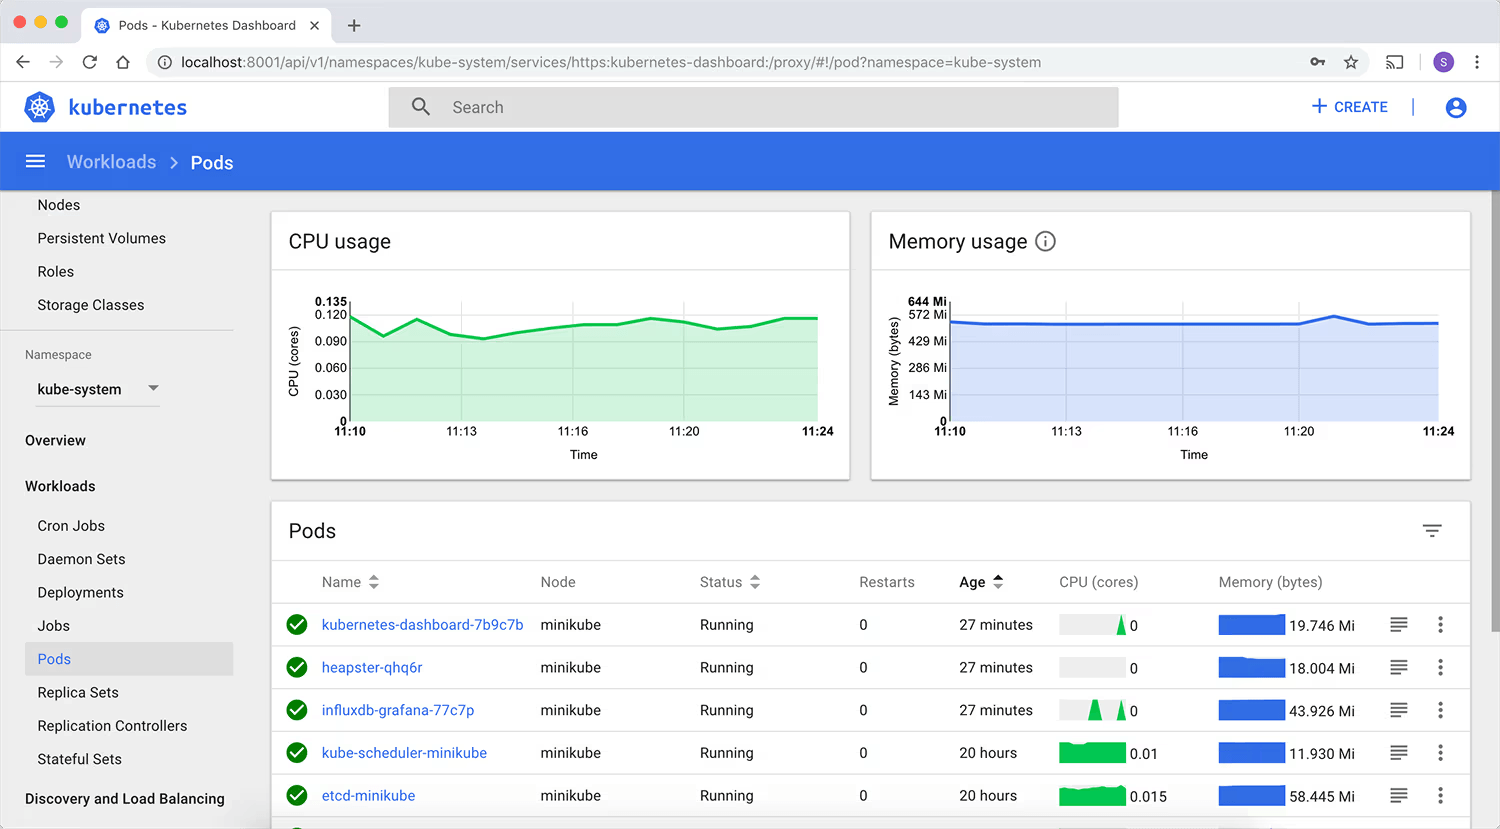
Below is a step-by-step guide on installing the Kubernetes Dashboard and accessing it using a token issued in the Customer Portal.
Deploying the Kubernetes Dashboard
The installation command depends on the Dashboard version. In case of errors in the console output or updates, refer to the Kubernetes documentation.
Kubernetes Dashboard supports only Helm-based installation currently, as it is faster and gives better control over all dependencies required by Dashboard to run.
-
Install
Helm. -
Add the Kubernetes Dashboard repository:
helm repo add kubernetes-dashboard https://kubernetes.github.io/dashboard/ -
Deploy the Kubernetes Dashboard:
helm upgrade --install kubernetes-dashboard kubernetes-dashboard/kubernetes-dashboard \
  --create-namespace --namespace kubernetes-dashboard
The Kubernetes Dashboard will now be deployed in your cluster.
Accessing the Dashboard UI
Create a Dashboard user
This example demonstrates how to create a user account with administrative rights. If you need to create a new user, assign permissions, and generate an individual token for that user, refer to the creating a sample user guide.
-
Create a manifest file (e.g.,
dashboard-adminuser.yaml) and add the following snippets to it:Creating a
ServiceAccountwith the nameadmin-userin namespacekubernetes-dashboard:apiVersion: v1 kind: ServiceAccount metadata: name: admin-user namespace: kubernetes-dashboardCreating a
ClusterRoleBindingfor theServiceAccount:apiVersion: rbac.authorization.k8s.io/v1 kind: ClusterRoleBinding metadata: name: admin-user roleRef: apiGroup: rbac.authorization.k8s.io kind: ClusterRole name: cluster-admin subjects: - kind: ServiceAccount name: admin-user namespace: kubernetes-dashboard -
Save the file and apply it:
kubectl apply -f dashboard-adminuser.yaml
The user account has now been successfully created.
Command line proxy
You can enable access to the Dashboard using the kubectl command-line tool by running:
kubectl -n kubernetes-dashboard port-forward svc/kubernetes-dashboard-kong-proxy 8443:443kubectl will make Dashboard available at https://localhost:8443.
In the Bearer Token field, enter the value obtained from the Customer Portal → Kubernetes Cluster Details → Secret field.
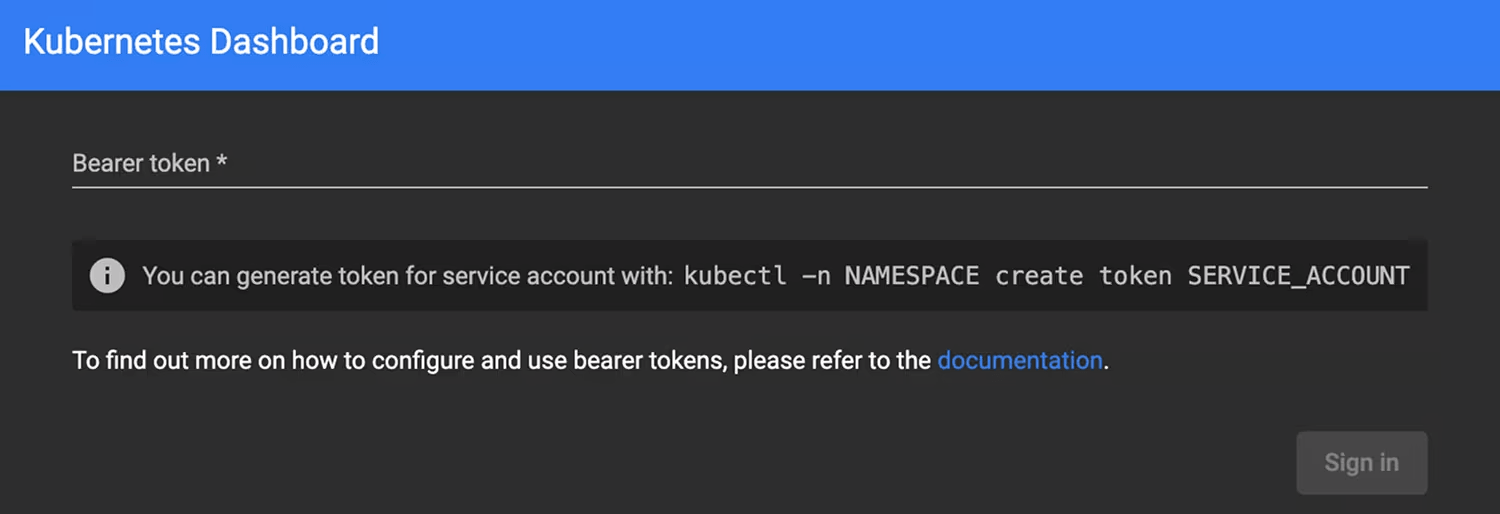
The UI can only be accessed from the machine where the command is executed. Use kubectl port-forward --help for more options.