
How to add new SSH key to a cloud server
To use а SSH key pair to connect to a server, the "public" part of the pair has to be placed on the server. Please refer to the first section of the "How to create and access a Linux-based cloud server via an SSH key" article for instruction on how to generate key pairs under Windows, Mac, and Linux.
Now, when you have a key pair, you need to add a public key to the "authorized_keys" file in your home directory on the server.
1. Connect to the server using your current key
ssh cloud-user@1.2.3.4 -i /current_private_ssh_key2. Add a public key to the "authorized_keys" file
You can add a public key to the "authorized_keys" file using "nano" text editor (or any text editor of your choice):
nano /home/cloud-user/.ssh/authorized_keysPaste your public key from the new line:
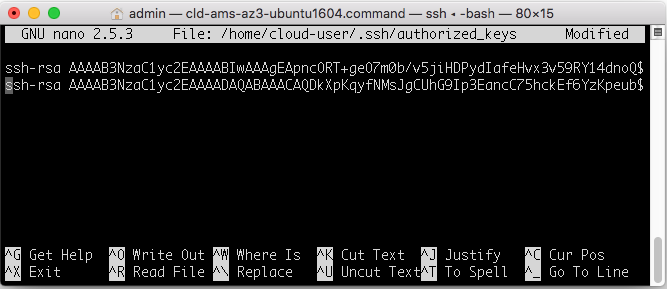
Save changes by pressing Ctrl+X, Y, Enter.
If you don't have "nano" installed
You can install "nano" by running the following commands on Ubuntu:
sudo apt update && sudo apt upgrade
sudo apt install nanoOn CentOS:
yum update
yum install nano -y3. Verify new key
Do not terminate existing SSH session. Open new session with the key you have just added:
ssh cloud-user@1.2.3.4 -i /new_private_ssh_keyIf the connection is established successfully, you all right. To remove one of the keys, just remove it from "authorized_keys" using the same "nano".