
How to create and access a Windows-based cloud server
1. Creating a Windows-based Cloud Server
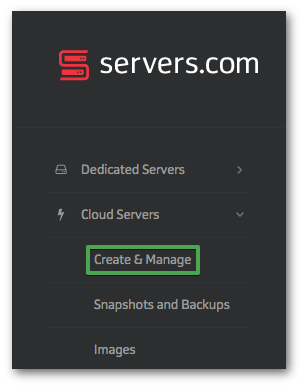
Go to Cloud Servers → Create & Manage.
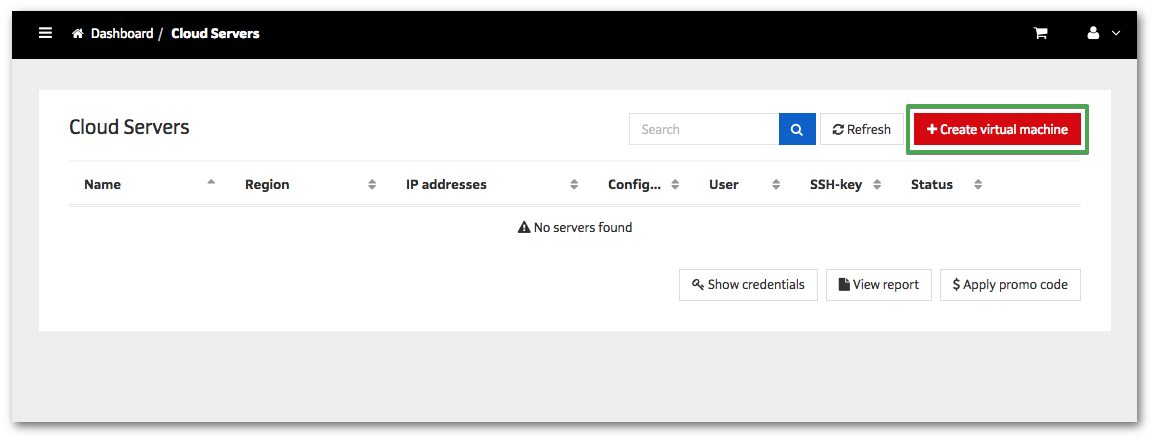
Click Create virtual machine.
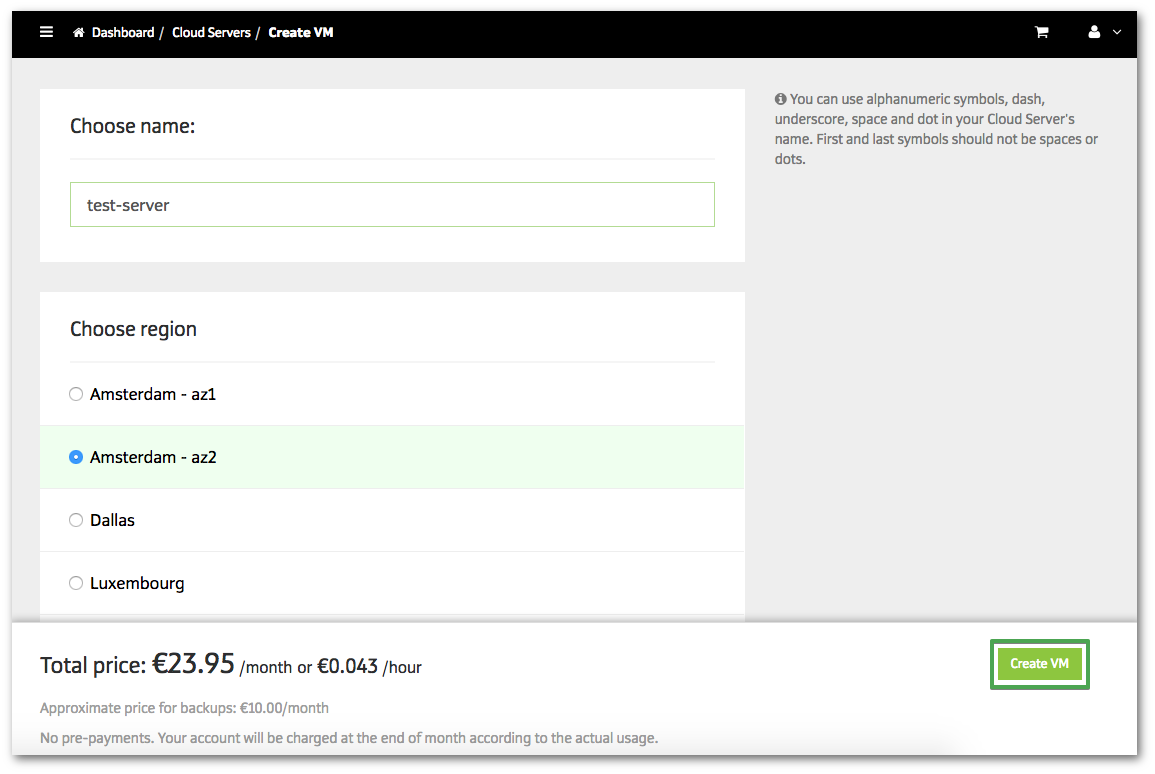
Enter the name of your virtual machine, choose the region, in the distribution list, select Windows 2012 R2 Standard, select the desired configuration and click «Create VM» at the bottom of the page.
2. Setting a password for a Windows-based Cloud Server
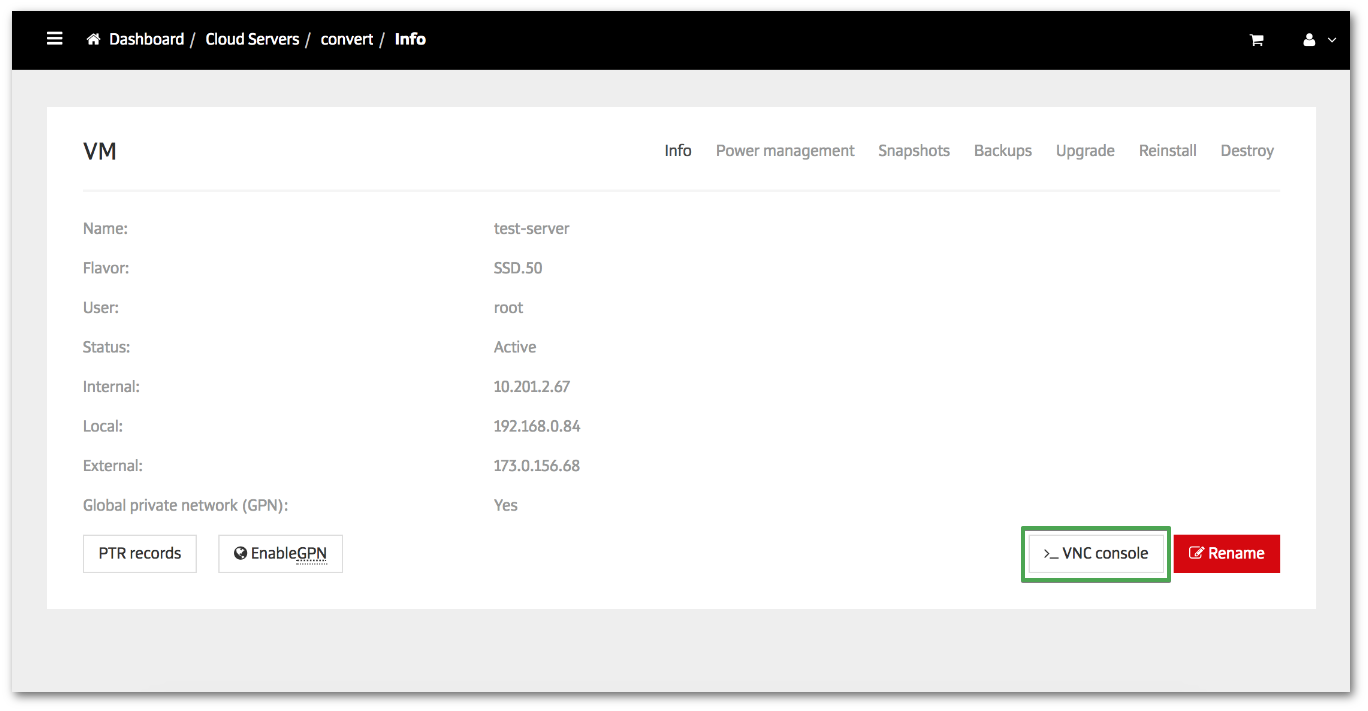
Before connecting to a server running Windows for the first time, you must set a password. To do this, go to Cloud Servers → Create & Manage, select the server ordered earlier. In the new window, click «> _VNC console».
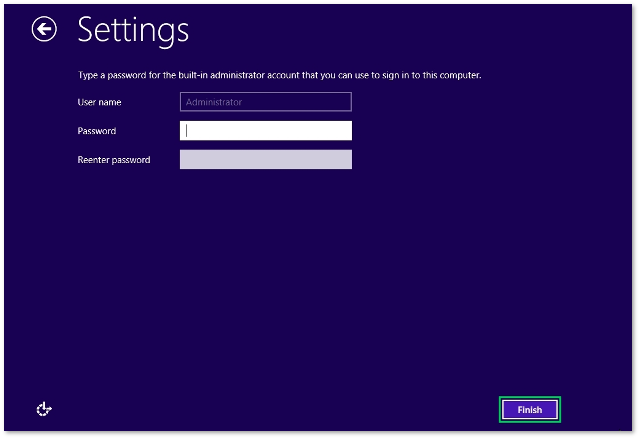
Make final adjustments in the new window, and the last step will be setting the password for the Administrator in a special window.
Enter the password and click «Finish».
3. Connecting to a Windows-based Cloud Server
3.1. Guide for Windows users
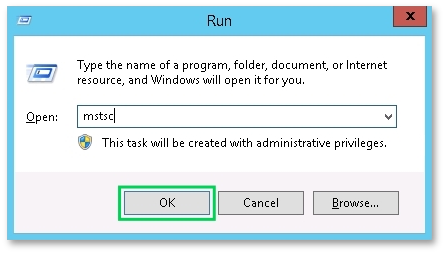
Press the key combination Win + R. In the new window, type «mstsc» and click «OK».
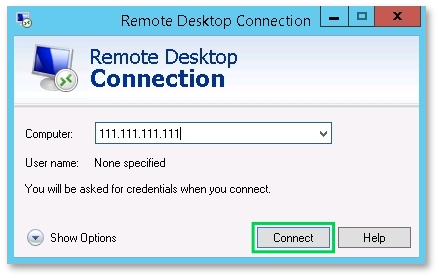
After launching Remote Desktop Connection, enter the IP of your Cloud Server and click «Connect».
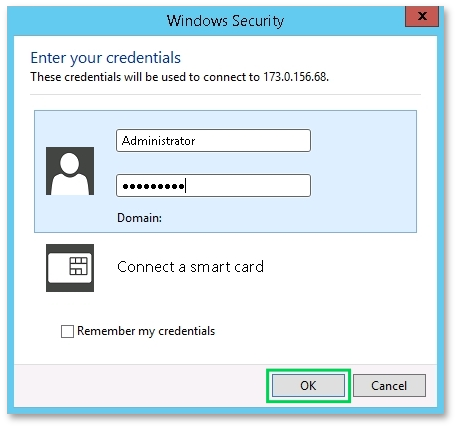
Enter your username and password, and click «OK».
3.2. Guide for MacOS and Linux users
To connect via your local computer that is running MacOS or Linux, you need to install any RDP-client (for example, Microsoft Remote Desktop for MacOS and Remmina for Linux). Let us consider the rdesktop connection. Open the Terminal and type the following command:
rdesktop external_ip_of_machine -u Administrator -p your_passwordReplace external_ip_of_machine with the external IP of your Cloud Server.
Replace your_password with the password for Administrator.