
Preparing a pfSense image and running it on a cloud server
pfSense is an open source firewall/router computer software distribution based on FreeBSD. It is installed on a physical computer or a virtual machine to make a dedicated firewall/router for a network. It can be configured and upgraded through a web-based interface, and requires no knowledge of the underlying FreeBSD system to manage.
This article will guide you through steps required for installation of pfSense on a cloud server in Servers.com infrastructure.
- Preparing a VM using VirtualBox
- Installing pfSense on VirtualBox VM
- Importing VirtualBox VM into your Customer Portal account with Servers.com
- Accessing the web interface of pfSense
Preparing a VM using VirtualBox
Before you start, you need to download and install free VirtualBox software from its official website.
You also need to download the pfSense.iso image form the pfSense's website.
Create a new VM in VirtualBox:
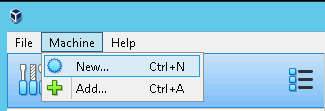
1. VirtualBox → Machine → New.
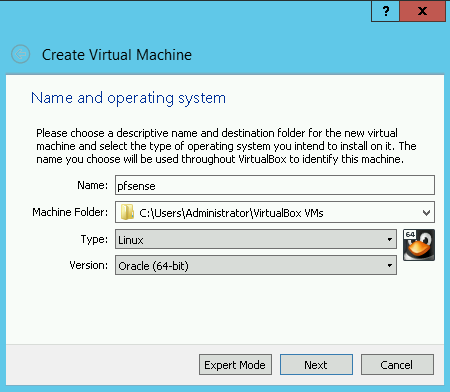
2. Set the type of a virtual machine to "Linux", set the version to "Oracle (64-bit)". Press "Next".
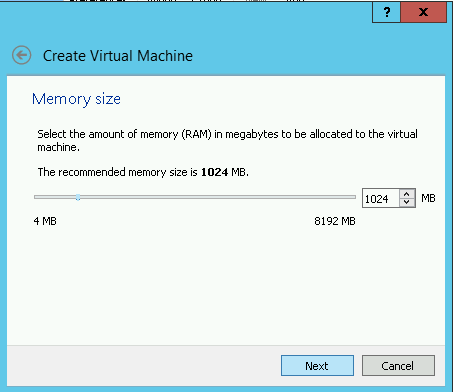
3. Set the "Memory size" to 1024MB.
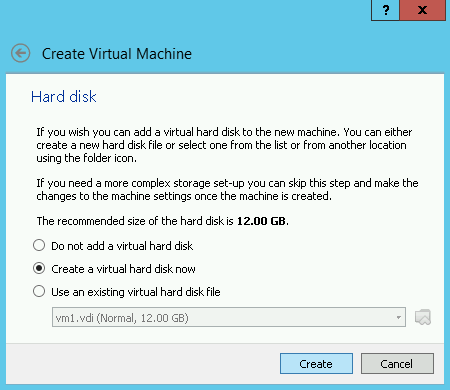
4. Create and attach a virtual hard disk. To do that, choose the "Create a virtual hard disk now" option and press "Next".
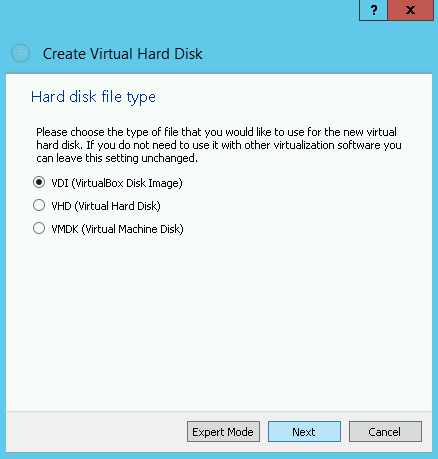
5. Set the hard disk file type to "VDI". "Next".
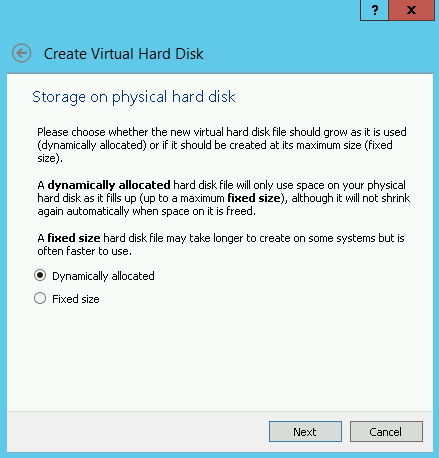
6. Set the hard disk site to be "Dynamically allocated". "Next".
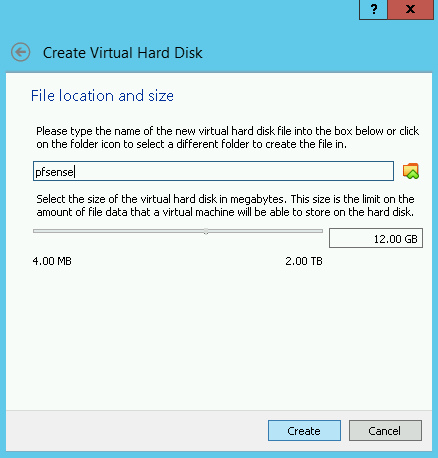
7. Set the size upper limit for the hard disk to 12 GB and press "Create". This amount is enough for pfSense installation.
Installing pfSense on VirtualBox VM
You need to attach pfSense ISO image to your VirtualBox VM before you can proceed with pfSense installation.
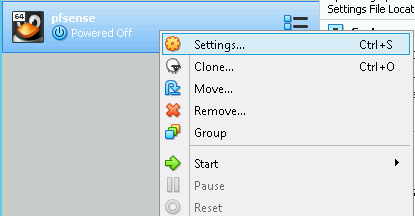
1. Open your VM settings in VirtualBox:
2. In "Settings" → "Storage" → "Storage Devices" → "Controller: IDE" press the blue sphere with a green cross. Press the "Choose disk" button and select the pfSense.iso file you downloaded earlier.
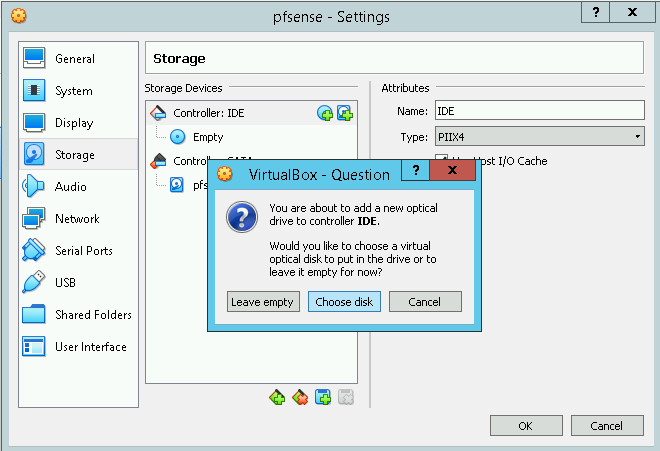
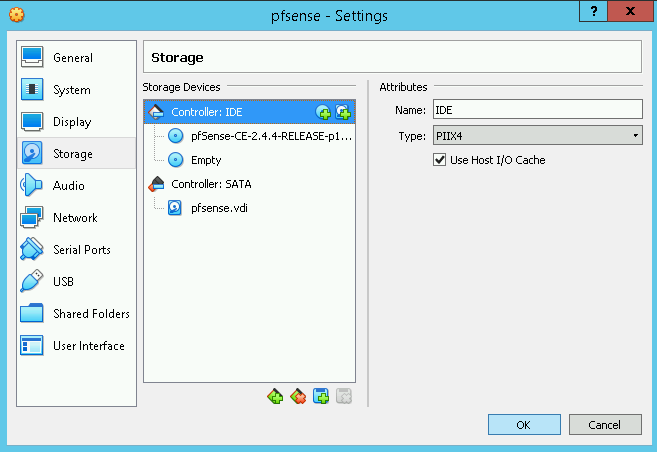
3. Attached ISO image will apper as an optical drive. Press "OK" to confirm new settings.
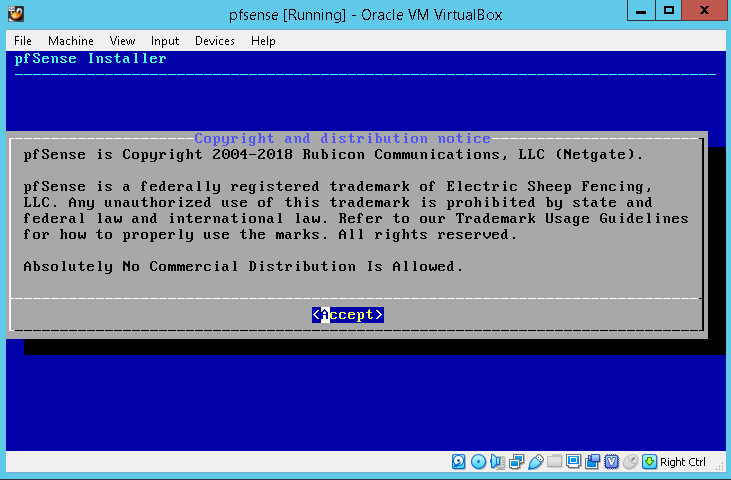
Now you need to turn your VirtualBox VM on by pressing "Start". pfSense installer will appear after boot.
1. Accept the distribution agreement:
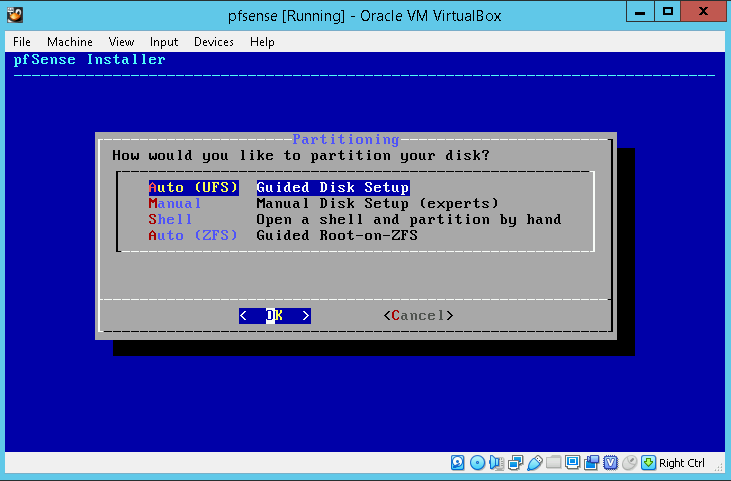
2. Select the "Auto (UFS)" method for disk partitioning:
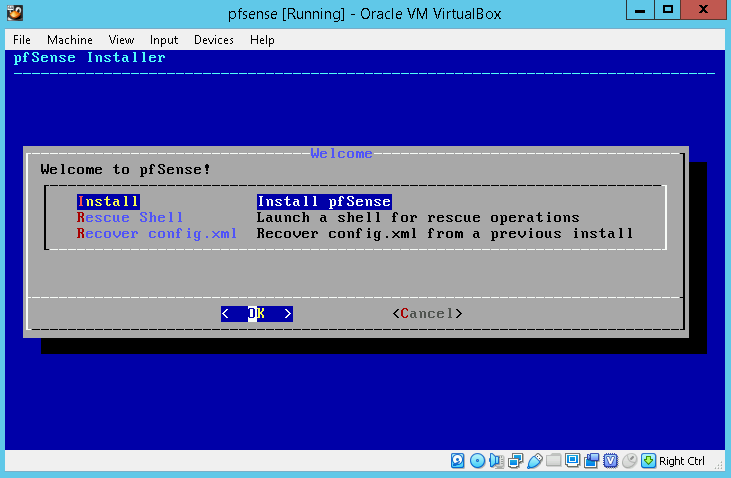
3. Select "Install" and press OK.
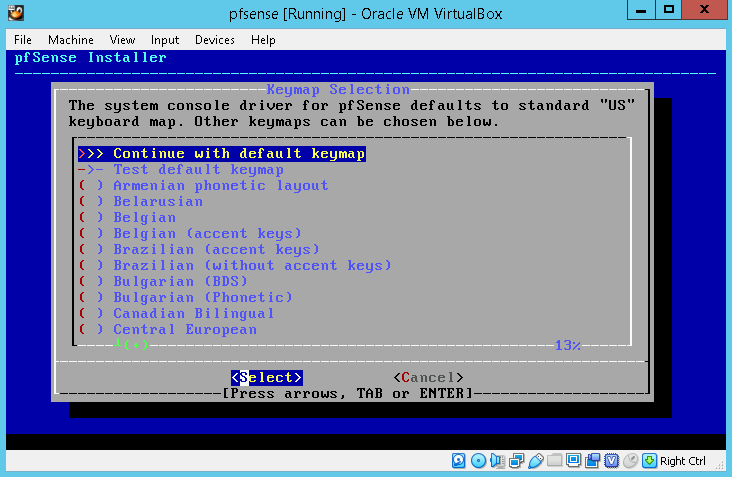
4. Select "Continue with default keymap" option:
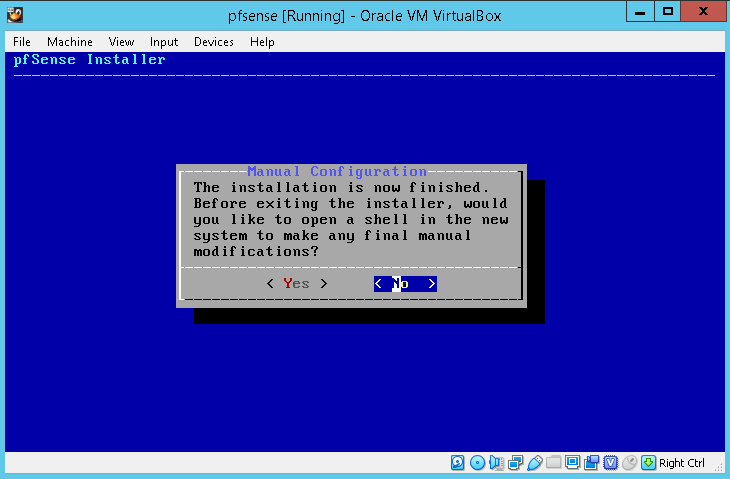
5. Press "No" to not start the Shell:
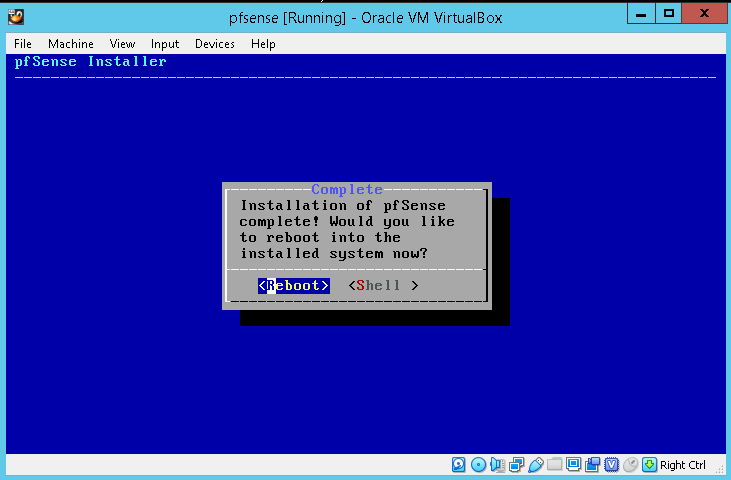
6. Press "Reboot" to reboot the VM, then shut down the VM.
Importing VirtualBox VM into your Customer Portal account with servers.com
1. On your local machine, create a RAW image of your VirtualBox VM:
On Linux:
sudo VBoxManage clonehd ~/VirtualBox VMs/pfsense/pfsense.vdi ~/VirtualBox VMs/pfsense/pfsense-raw.img --format rawOn Windows:
cd "C:Program FilesOracleVirtualBox"
VBoxManage clonehd “%USERPROFILE%VirtualBox VMspfsensepfsense.vdi” “%USERPROFILE%VirtualBox VMspfsensepfsense-raw.img” —format raw2. Open "Cloud Servers → Images" and press "Upload image". The image needs to be uploaded into the cloud region in which you will be running a cloud server from this image. If you would like to run cloud servers with pfSense in different regions, the image has to be uploaded into each of them.
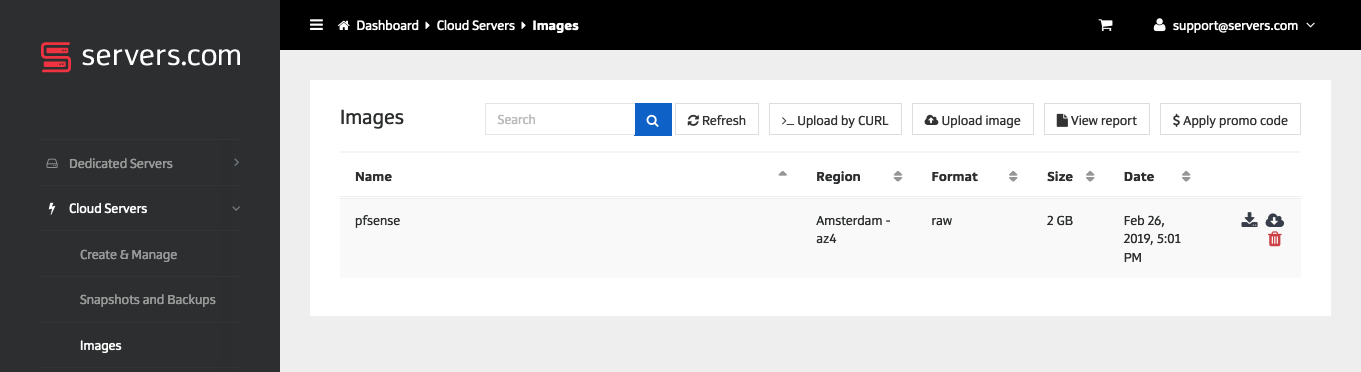
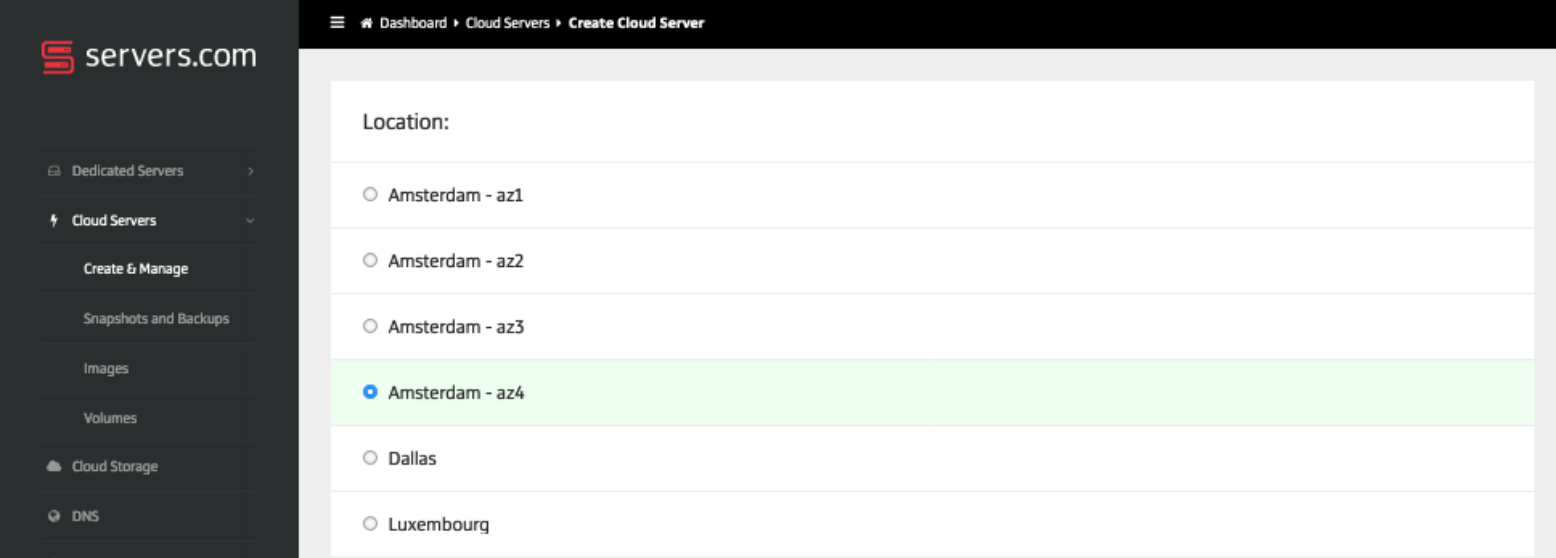
3. The uploaded image will become available in the list of operating systems. You will be able to use it to create new cloud servers (don't forget about availability only in the same region, as an uploaded image). Create a new server using "Cloud Servers → Create & Manage → Create server".
Accessing the web interface of pfSense
The web interface of newly created pfSense cloud server is available on a public IP address of that cloud server. Default credentials are: admin:pfsense.