How to install nano text editor in Linux
If you're a Linux user, you're probably familiar with command-line text editors like vi and emacs. However, these editors can be intimidating for beginners or anyone looking for a simpler solution. That's where nano comes in – it’s a lightweight, user-friendly editor with a minimal learning curve.
In this article, we'll guide you through the installation and basic usage of nano on Linux.
Installing nano using package manager
Installing nano on Ubuntu and Debian-based systems
If you're using Ubuntu or any Debian-based system, installing nano is a breeze. Nano is included in the default package repositories (Ubuntu and Debian), which means you can install it using the package manager.
To install nano on Ubuntu and Debian-based systems, open the terminal and enter the following command:
sudo apt-get updateThis command updates the package list on your system. Once the update is complete, run the following command to install nano:
sudo apt-get install nano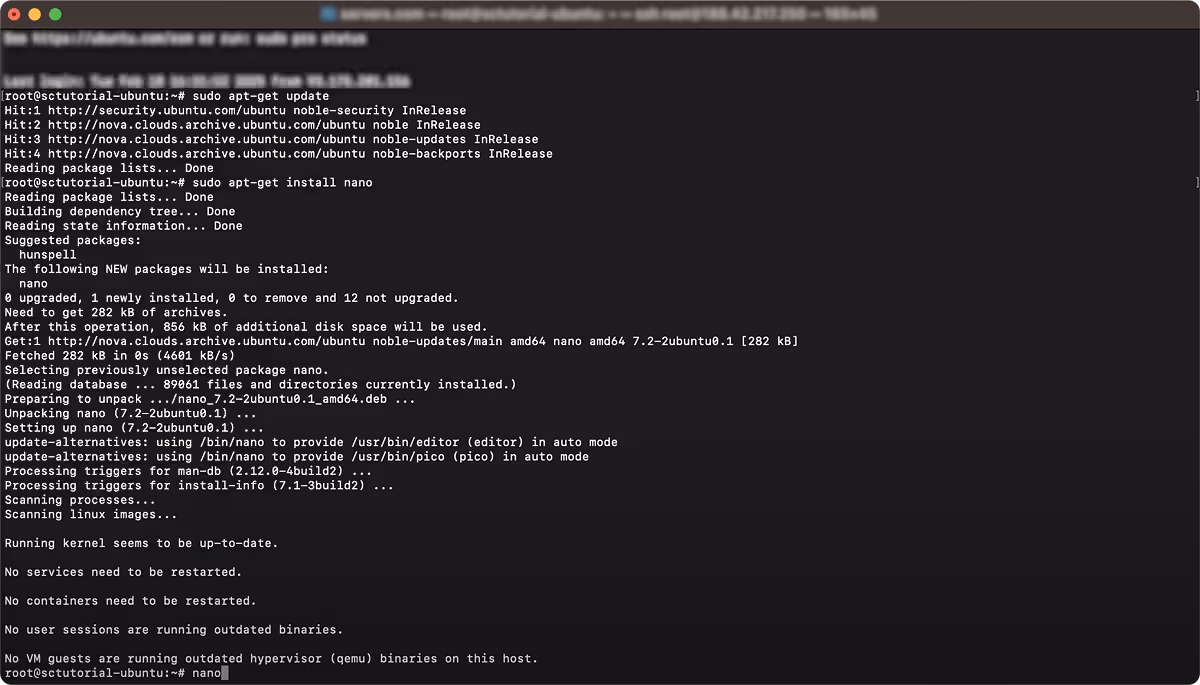
The package manager will download and install nano on your system. Once the installation is complete, you can start using nano to edit text files.
Installing nano on CentOS-based systems
To install nano on CentOS-based systems, open the terminal and enter the following command:
sudo dnf updateThis command updates the package list on your system. Once the update is complete, run the following command to install nano:
sudo dnf install nanoThe package manager will download and install nano on your system. Once the installation is complete, you can start using nano to edit text files.
Note that there is a different process for installing CentOS 7 on Linux.
To install nano on CentOS 7 enter the following command:
sudo yum install nano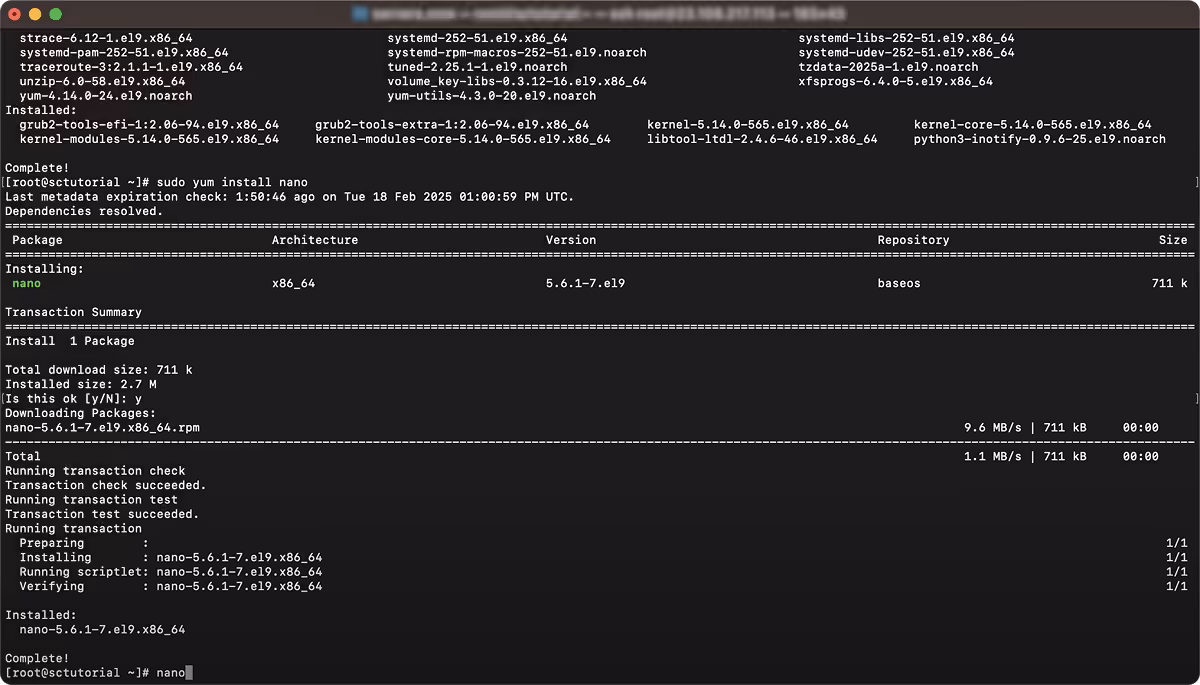
Installing nano on AlmaLinux
This is a popular command package, available to install from the system’s default repository, so in order to download and install the nano, you don’t need to add any additional repository.
To install nano on AlmaLinux, firstly ensure you system is up to date by entering the following command.
sudo dnf update
sudo dnf install epel-releaseThen open the terminal and enter the following command:
sudo dnf install nanoTo check that the nano has installed, enter the following command:
nano --version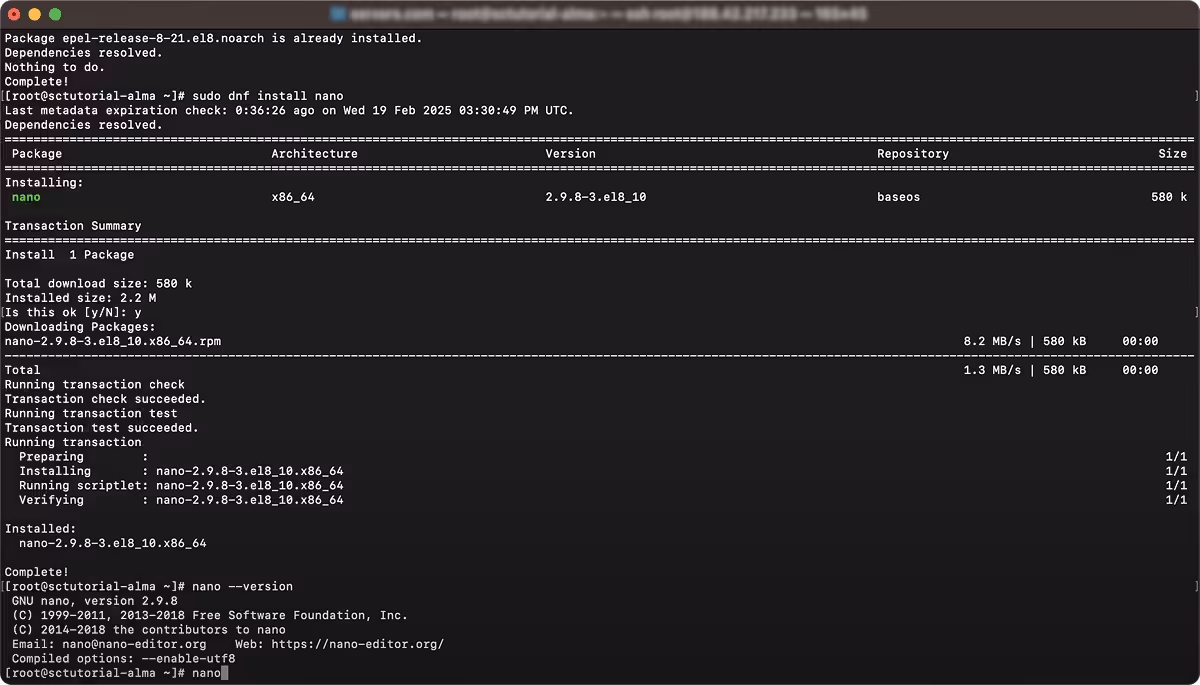
Installing nano on Rocky Linux
Nano is available to download from the repository.
To install nano on Rocky Linux, firstly ensure you system is up to date by entering the following command.
sudo dnf check-update
sudo dnf install dnf-utilsThen open the terminal and enter the following command:
sudo dnf install nano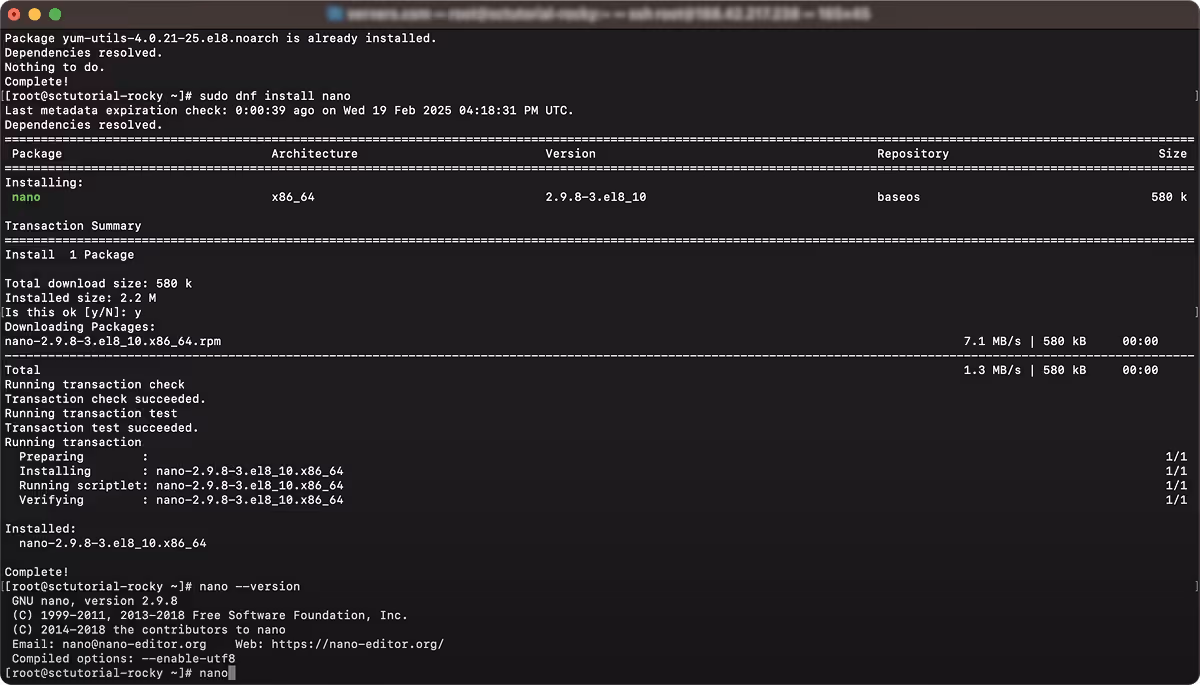
It's worth noting that nano is a powerful text editor that comes with many features that can help you edit text files efficiently. It has syntax highlighting, search and replace, copy and paste, and many other features that make it a great choice for developers, system administrators, and anyone who works with text files on a regular basis.
So, whether you're a Linux newbie or an experienced user, installing nano using the package manager is a simple and straightforward process that will give you access to a powerful text editor that can help you get your work done more efficiently.
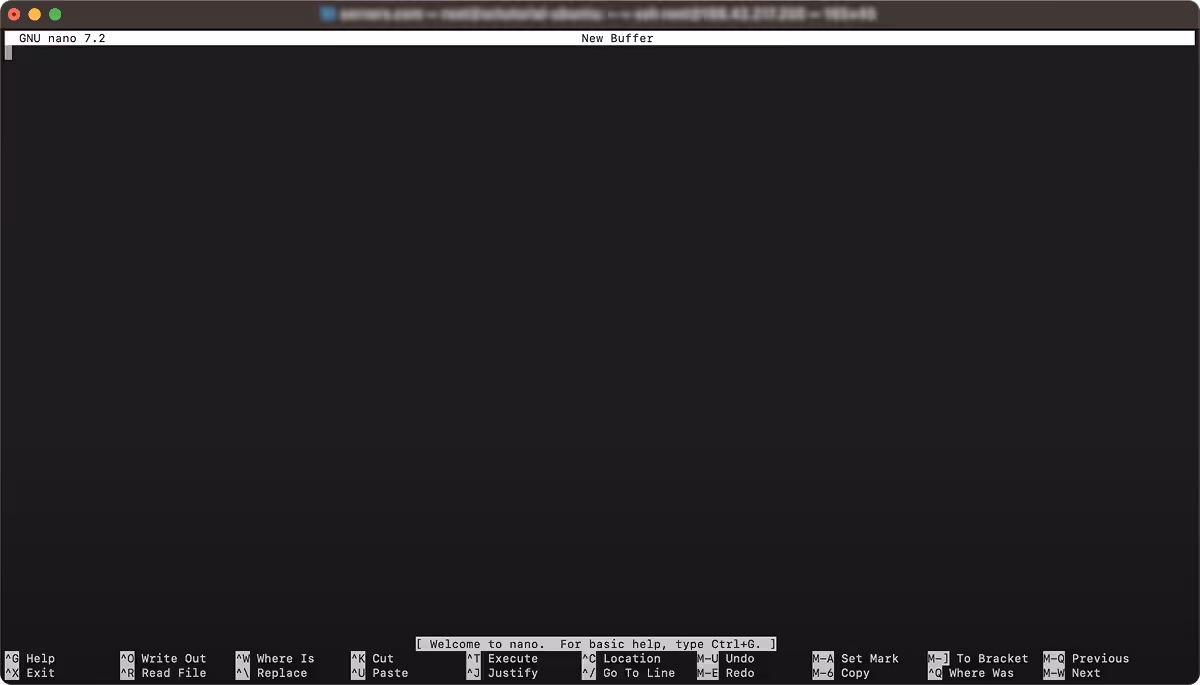
Basic usage of nano text editor
Nano is a simple and user-friendly text editor. It is a great tool for editing configuration files and creating scripts. In this guide, we will cover the basic usage of nano text editor.
Opening and creating files
To open a file using nano, simply enter the following command in the terminal:
nano filenameIf the file doesn't exist, nano will create a new file with the given name. This can be useful when you need to create a new file quickly.
Once you have opened a file in nano, you can start editing the text. Nano offers basic keyboard shortcuts for editing text. Use the arrow keys to navigate through the document, and type to insert new text. Use the backspace key to delete text and Ctrl + K to cut text.
Navigating and editing text
In addition to the basic keyboard shortcuts, nano also offers more advanced functionality. For example, you can use Ctrl + W to search for a specific word or phrase in the document. You can also use Ctrl + T to transpose characters and Ctrl + U to uncut the last cut text.
If you need to insert a new line, simply press Enter. If you want to go back to the previous line, use Ctrl + P. To go to the next line, use Ctrl + N. These keyboard shortcuts can save you a lot of time when editing large documents.
Saving and closing files
When you are done editing the file, it's time to save your changes and exit nano. To do this, press Ctrl + X. Nano will prompt you to save the changes before exiting. If you don't want to save the changes, press N, otherwise press Y to save.
Now that you're familiar with the installation and basic usage of nano, start exploring its features and functionality. Whether you're a beginner or an advanced user, nano offers a great alternative to other text editors on Linux.
Here is a table of common commands when using nano:
-
nano filename – Open the file “filename” for editing
-
CTRL + O – Save the current file
-
CTRL + Y – Scroll down one page
-
CTRL + V – Scroll up one page
-
CTRL + G – Show the help screen
-
CTRL + X – Exit nano
-
CTRL + K – Cut the current line
-
CTRL + U – Paste the cut text
-
CTRL + W – Search for a string of text
-
CTRL + C – Show the current position of the cursor
-
CTRL + E – Navigate to the end of the line
-
CTRL + A – Navigate to the start of the line