
Using Monit process monitoring on Ubuntu/Debian
Monit is an open source monitoring tool for Linux operating systems. This utility allows to:
-
manage and monitor processes, programs, files, directories and file systems, log changes in files size, directories content, and checksums.
-
get information about the status of each process that is monitored, and about the resources that the operating system allocates for these processes;
-
stop resource-intensive processes, restart the services that stop responding and start the stopped services.
This article will guide you through basic Monit setup on Ubuntu/Debian operating systems.
Installation
Monit is available in Ubuntu and Debian repositories, so you don't need to setup additional repositories.
Run the following commands to install Monit:
$ sudo apt-get update
$ sudo apt-get -y install monit
Run the following commands to start the service and view its status:
$ sudo systemctl start monit
$ sudo systemctl status monitThe output should look like follows:
Use the following command to enable the service autostart on boot:
$ sudo systemctl enable monitNow the installation is completed.
Basic setup
The default configuration file is “/etc/monit/monitrc”. You can edit it with "vi" or any other text editor:
$ sudo vi /etc/monit/monitrc
Use the following command to specify Monit's poll cycle length and run Monit in daemon mode. You must specify a numeric argument which is a polling interval in seconds. In daemon mode, Monit detaches from the console, puts itself in the background and runs continuously, monitoring each specified service and then goes to sleep for the given poll interval, wakes up and start monitoring again in an endless cycle.
/etc/monit/monitrc

set daemon 120Set the mail server and recipient address for notifications:
/etc/monit/monitrc
set mailserver your.mail.server
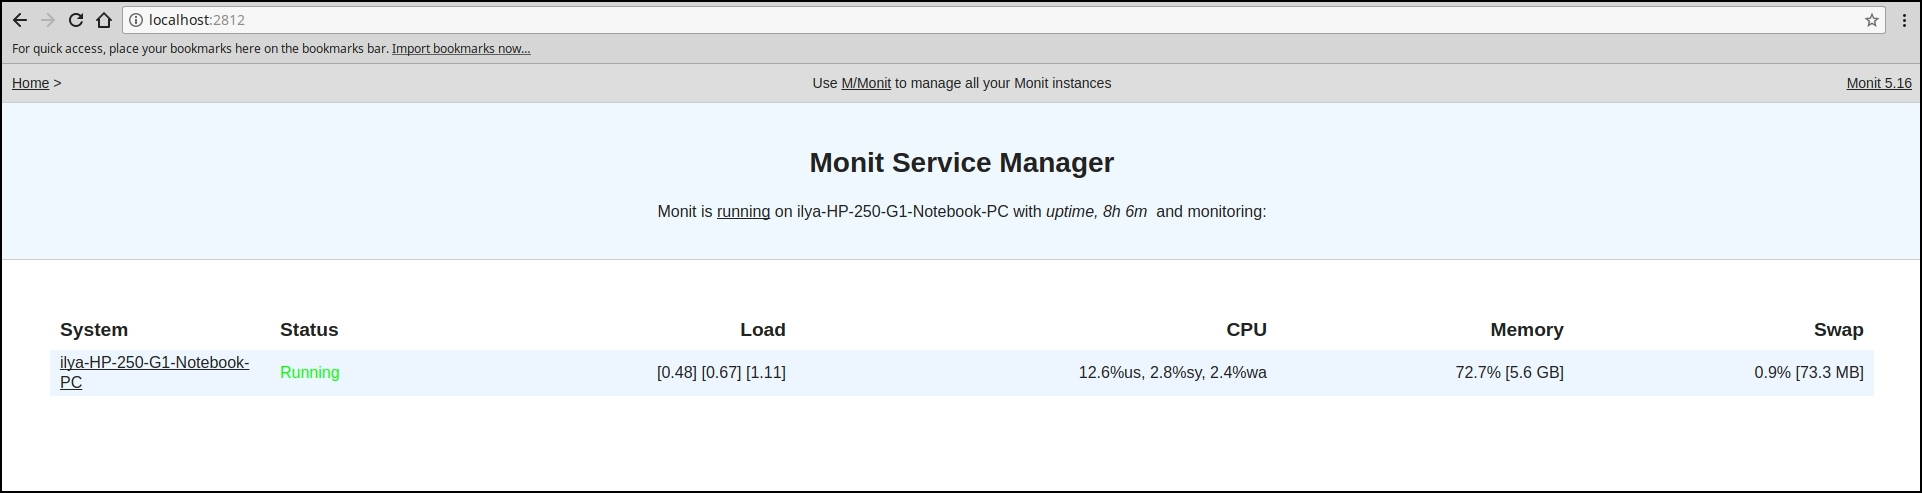
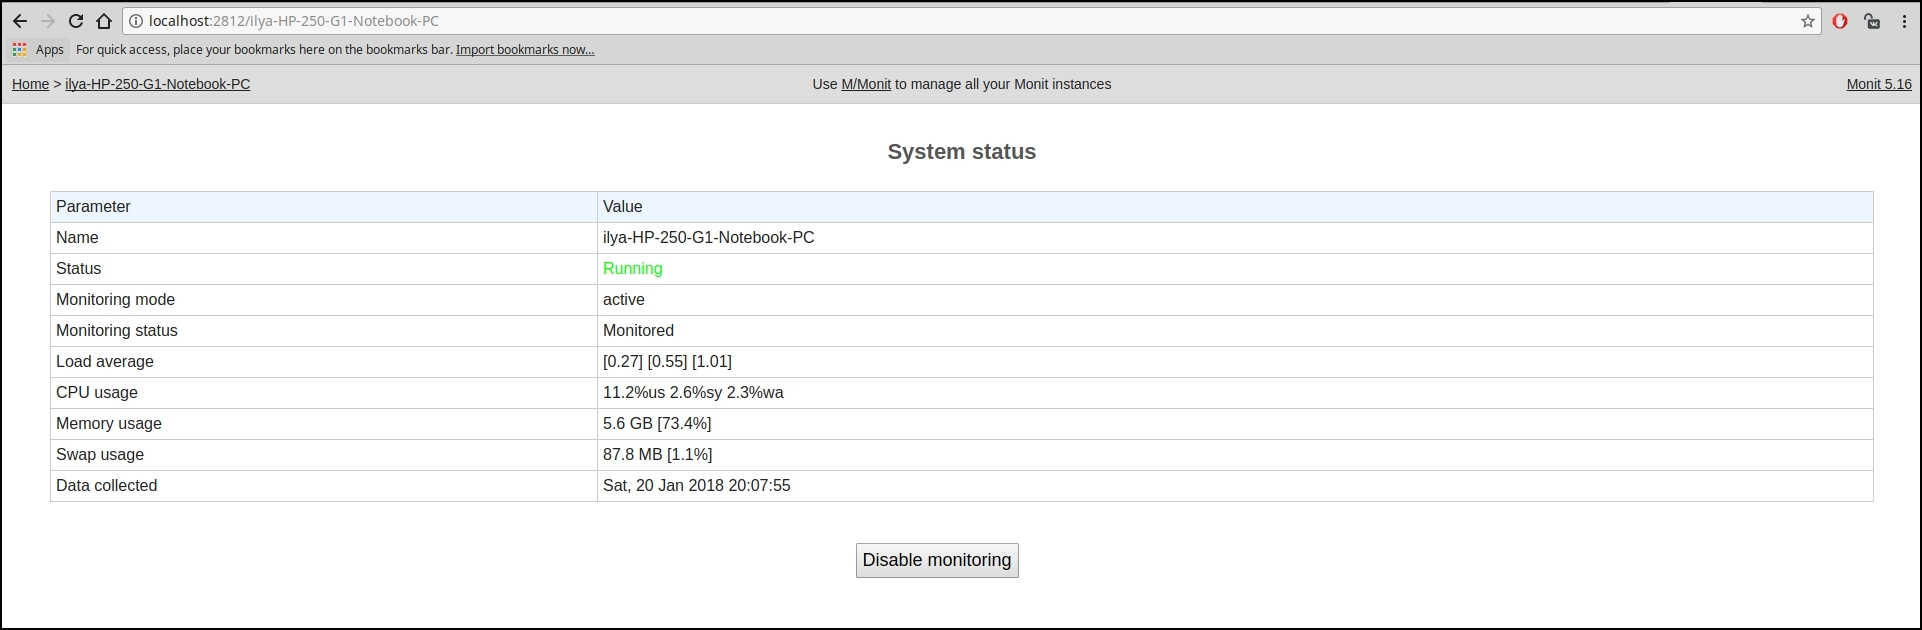
set alert your.mail.addressYou can enable web interface and use it to view reports. By default, Monit is setup on port 2812.
To enable web interface, find the following lines in the configuration file:
/etc/monit/monitrc

#set httpd port 2812 and
#use address localhost  # only accept connection from localhost
#allow localhost        # allow localhost to connect to the server and
#allow admin:monit      # require user 'admin' with password 'monit'
#allow @monit           # allow users of group 'monit' to connect (rw)
#allow @users readonly # allow users of group 'users' to connect readonlyUncomment the following lines:
/etc/monit/monitrc

set httpd port 2812 and
allow admin:monit # require user 'admin' with password 'monit'In the example above, the username is set to 'admin', and the password is set to 'monit'.
You need to restart the service so that changes take effect:
$ sudo systemctl restart monitNow you can log in to http://[YOUR-IP-ADDRESS]:2812 using admin:monit as credentials.
A number of monitoring templates come with Monit. You can list them using "$ sudo ls -al /etc/monit/conf-available/" command.
You need to create a symbolic link in the "/etc/monit/conf-enabled/" to the template you want to enable. For example:
$ sudo ln -s /etc/monit/conf-available/apache2 /etc/monit/conf-enabled/Or you can create a custom template in the "/etc/monit/conf-available/" directory, and create a link to it in the "/etc/monit/conf-enabled/":
$ sudo vi /etc/monit/conf-available/proftpd
$ sudo ln -s /etc/monit/conf-available/proftpd /etc/monit/conf-enabled/Restart the service so that changes take effect:
$ sudo systemctl reload monitTesting the service restart feature
Let's stop the service which is being monitored by Monit:
$ sudo systemctl stop proftpd
You should get an email notification about the service has been stopped. In 120 seconds Monit will try to restart the service.
The log file is "/var/log/monit.log":
cat /var/log/monit.logFor more information on using Monit, please refer to the official documentation.